Imagine this, you are cruising along on the reef and suddenly something goes wrong, it could be something minor like a blown O-ring, or something much more serious such as a blown hose, a free flowing regulator, or an out of air situation. You think, “No worries, I’ll go to buddy like I was trained to do and give them the applicable signals, then we’ll calmly ascend to the surface. Our ever alert captain, somehow magically, will be waiting for us at the surface, right?”
In the real world the above scenario usually leads to a regulator being ripped out of someone’s mouth, a frantic swim to the surface and a boat that does not know where you are since you didn’t surface where you were supposed to and most likely don’t have the appropriate signaling device to let the captain know where you are.
Even in the best of scenarios, especially if the boat is moored, the captain can’t leave the mooring site until the boat picks up the rest of the divers in he water. You could be floating for an hour or more while waiting for the boat to pick you up!! This is why I believe that Sidemount diving is the way forward and the Hollis line of Sidemount kits are the best option for divers looking for a multipurpose, dynamic, robust Sidemount diving system.
Sidemount diving is the latest hot topic in both recreational and technical scuba diving. By moving the cylinders to your sides instead of on your back it is far more comfortable, and affords the redundancy, and self-sufficiency that is lacking from traditional recreational diving.
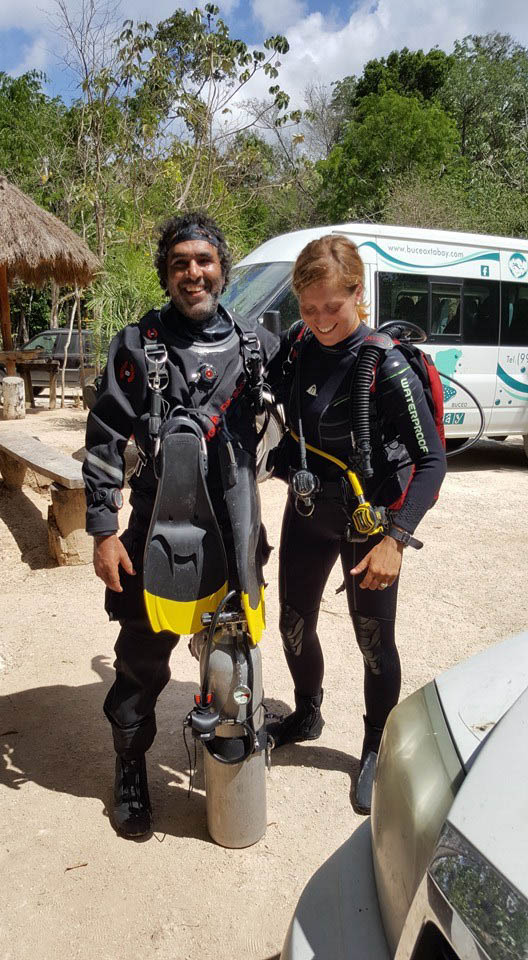
The SMS Katana is the latest offering from the great people over at Hollis and I was lucky enough to get my hands on one of the first production units with one task. “Take this to Mexico and go diving!!” Being the hard worker that I am, I thought about this for the same amount of time that it took for me to inhale just enough air to say HELL YEAH!!!
I have been deep Sidemount Diving for several years in Egypt and this was my first venture into the Cenotes of the Riviera Maya.
Unboxing the Gear
There was the latest LX200/DCX regulators, a Neotek Semi-dry suit, a DX-300X Drysuit, and of course the subject of this review, two brand spanking new SMS Katana Sidemount systems. The SMS Katana replaces the SMS 50 series system and was designed by Nick Hollis after consulting with many world renowned, Florida and Mexico cave and cavern divers.
Some of the features of the Katana are its new streamlined and compact design which reduces drag and allows for easier movement in confined spaces, 8 D-Rings (2 on each shoulder strap, one on each hip/shoulder strap connection point, and 2 rear D-Rings for securing the main tanks), 35lbs of lift which makes it extremely travel friendly, 3 built in weight pockets that are rated for 13 lbs./6 kg (2 x 5 lbs. and 1 x 3 lbs.), an “H” style harness for easy adjustment which makes this a one size fits all unit. The unit also sports a reversible inflate and dump assembly, integrated bungees that pull the tanks up and away from the diver’s torso for a streamlined setup, and retainers located to avoid overhead interference.
Enough about the features and let’s talk about what it’s like to dive the unit. This was my first time using a loop bungee system with Sidemount diving (I’ve always been a continuous loop fan) and I have to say that I really, really like it. I did have to change the bungees on the unit though, they were the right size but a little too thick and not stretchy enough to wrap completely around the valve in a fashion that I was accustomed to. Once the bungee was changed getting the tanks bungeed up and in position was very easy to do. With the continuous loop system, I knew I was doing it properly by all the cuts on my knuckles, and I am pleased to report that after doing 7 dives on the unit, my knuckles don’t have a single scratch on them. I also liked the secondary bungee used for tightening and securing the primary bungee so that your tanks ride up slightly higher than when using the continuous loops system. I have never had an easier time attaching the bungees to the tank than with the SMS Katana.
Getting Familiar with the Gear
Day One was in the swimming pool and I was easily able to get neutrally buoyant and in trim with the unit. Once all the final adjustments were made (for now at least) we headed off to the “Car Wash” cenote for some test dives and further configuration. One minor concern was with the primary dump which was located on the top of the unit. Since side mount is definitely all about maintaining a perfect horizontal position in the water column, I found that I had to come slightly out of trim to vent air especially when wearing a drysuit, this was no problem to fix since the folks at Hollis gave you the option of placing the dump valve in the middle right hand corner (if you are looking at the back of the unit) which fixed that problem immediately. Diving the unit in a wetsuit I found that either position for the dump valve was fine and I actually preferred having it at the top. Nice touch Hollis.
My dive buddy mounted three tanks onto his SMS Katana and it handled the extra tank with no problems, in fact it could easily be used with four tanks on a technical dive though I would not recommend it since there is only one bladder inside the unit. I was concerned that 13 lbs/6 Kg of lead capacity would not be enough for a drysuit but when paired up with the new Hollis DX-300X drysuit I was easily able to sink with only 8 lbs. of lead leaving me with 5 lbs. of lead to spare, more than enough to do these same dives in salt water.
After a day of configuring and getting familiar with the unit we decided to take the unit for a deeper dive to see how it performed “under pressure.”
Let’s Hit the Cenotes!
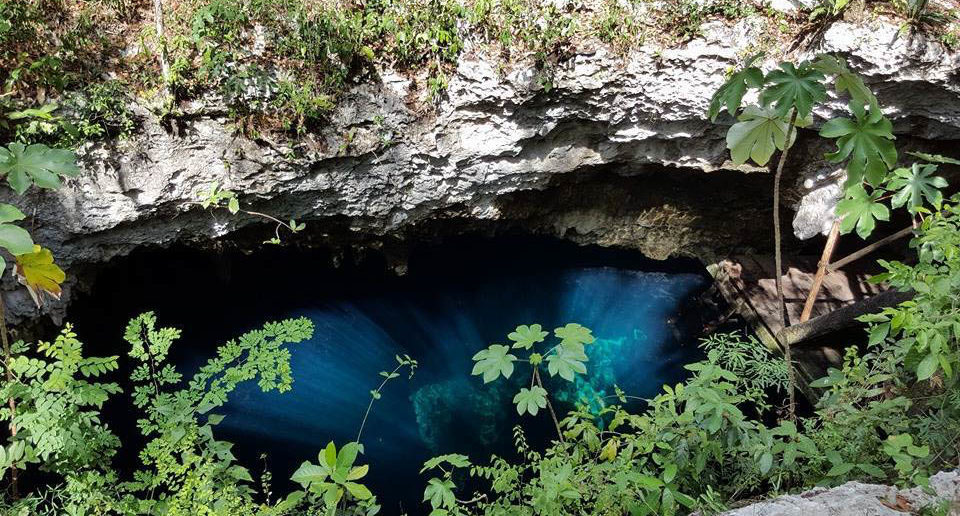
Day two had us doing “The Pit” as our first dive of the day. The unit performed perfectly and the dive was epic! Unfortunately, a malfunctioning video light limited our ability to take any pictures, which was not a bad thing since I was wearing a new dry suit and fins while testing out a couple of computers too (so much for the “never dive more than one piece of new gear at a time” rule!)
I was able to descend in a horizontal position with no problem and even did a head first decent just for fun and everything stayed where it was supposed to.
I stopped just short of the halocline just to see how the change from fresh to salt water would affect my trim and buoyancy and how easy it was to make the necessary adjustments. Sinking slowly into the halocline is one of the weirdest experiences a diver may ever encounter on a dive. You slowly sink through the water column, when all of a sudden you slow down to a stop and if you are not careful you will start to ascend again until you get to fresh water layer creating a bit of a yo-yo effect. I intentionally held my profile within the halocline to see how easy it was to make slight changes in buoyancy using the pull dump and the inflator hose while testing how easy it was to read my computers in a simulated low visibility environment (the water looks very “pixelated” inside the halocline). Despite the task-loading, I was able to make changes without any issues.
Staying just above Hydrogen Sulfite layer, we took a nice leisurely swim around the cavern for a few minutes and I practiced “taking pictures” with my pseudo-camera. I found it was easy to maintain trim and depth without any difficulties. Usually when I change systems, it takes a while for me to adjust and get comfortable, but honestly it all felt very natural.
All the equipment just meshed, the wing had just the right amount of lift, the dry suit offering warmth without dramatically changing buoyancy characteristics, the fins, perfectly weighted for that suit so that the horizontal “tec” position happens almost on its own. I’ve never been one to wear nearly everything from just one manufacturer, in this case it really all did work harmoniously together. 30 minutes later we surfaced and loaded up the truck for what would be the biggest challenge to date for all this new gear.
Dos Ojos is one of the most popular and easier cenotes to dive, so why do I call this the biggest challenge to the new gear? It’s shallow and long, and this would be the closest dive to date that simulates a real cave environment. Throw in the dry suit and two half empty tanks in an overhead environment and one can see where this could create problems. One of the challenges of multi-tank diving is what happens when the tanks begin to become positively buoyant, a quick change from the rear D-Ring to the waist D-Rings brought the tanks into a nice well-trimmed position.
When I dived the SMS100, I used D-rings that slid across the waist strap so that my tanks can maintain that perfect streamlined position no matter the pressure in the tanks, with the Katana, Hollis supplied a 45 degree bent D-ring vs the traditional 90-degree slider ring. The advantage to the 45-degree bend is that the tanks can be clipped even closer to the diver’s center of gravity making it the perfect way to mount your tanks as the dive progresses and the tanks get lighter. Finally, a manufacturer that addresses that fact that a lot of us like to dive with aluminum tanks! The tanks looked good and the dive went well. I was about one pound short of lead on the dive which presented some minor issues towards the end of the dive but I was still easily able to complete the dive.
Bucket List Dive: Dream Gate Cenote
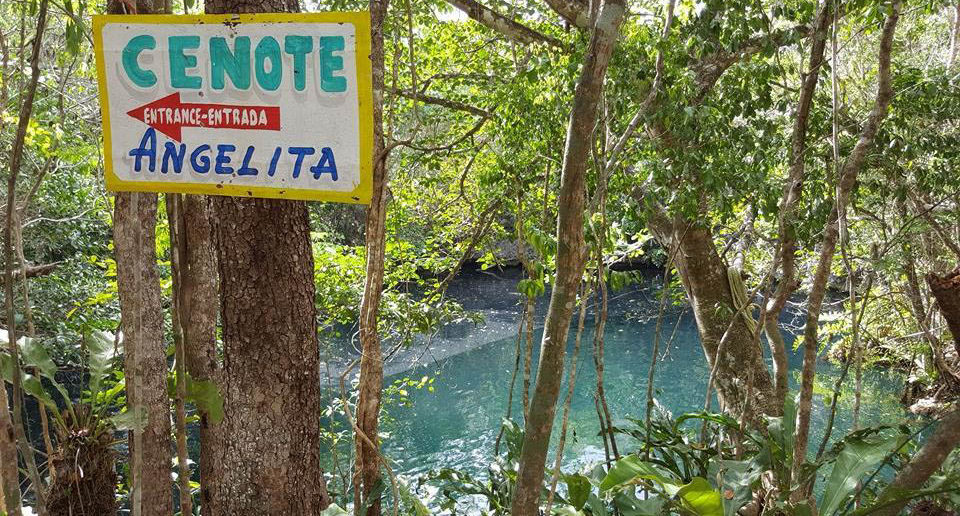
Day Three: A short drive to Angelita Cenote gave me another chance to try the system at depth. Weight was readjusted and everything worked flawlessly. I purposely breathed the tanks down to 1500 PSI/100 BAR to reconfirm that my weighting was now sufficient and felt confident for the moment of truth, the dive we ordered these units for, Dream Gate Cenote.
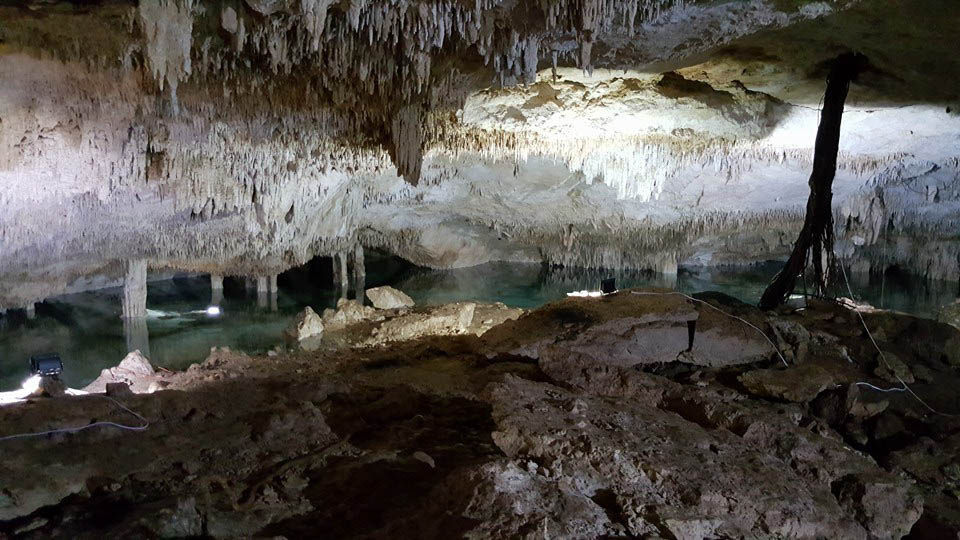
For those of you that have never dived Dream Gate Cenote, this is one to put on your bucket list. I’ve been fortunate enough to dive some of the world’s best dive sites in my career as a professional Scuba Diver and this one easily makes my top 10, maybe even top 5! Maximum depth is only 20 ft/6 m but don’t let that discourage you! You enter the cavern and begin a swim though a history of the earth, there are more stalactites and stalagmites than any one person should be allowed to see in a single dive. You get about as far as a person can get into an overhead environment without calling this a full-fledged cave dive.
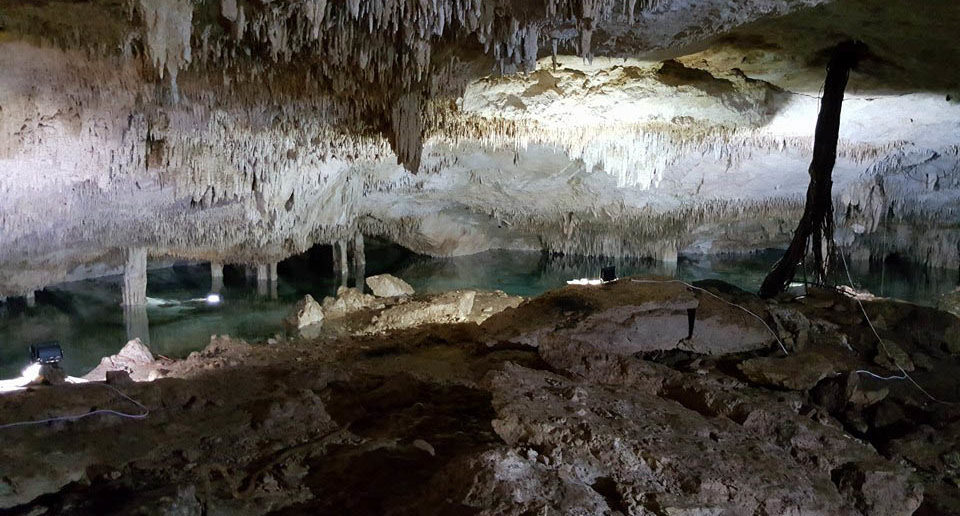
A quick glance at the cavern floor in some of the tighter areas of the cavern reveal the mistakes of divers who broke countless stalactites due to improper buoyancy techniques. Keep in mind that this is a very advanced dive that most dive centers will not bring their guests to, so seeing the broken fragments of earth on the floor like pieces of dead coral at a sacrificial shore diving site is a cave instructor’s nightmare. It reminds you that even the best can struggle here without the proper skills and equipment. This is where the Katana shined the most, like a German sports sedan at 120 miles per hour. I found this unit’s home. I was easily able to make adjustments to my buoyancy when changing depths. Remember that the maximum depth in this cavern is only 20ft/6m so the slightest change in depth can produce huge changes in buoyancy. The Katana’s wing is constructed in a way that air travels as needed to the different compartments in the wing allowing you to easily stay in the proper trim position. The diamond shape of the wing keeps most of the air at the middle of your back allowing you to pass through the tightest of restrictions with little or no difficulty, a simple lifting of your head to look at the majestic ceiling was all that was needed to be able to vent air from the top dump of the unit. Proper weighting and adjustment is key and with the three weight pockets and two days of diving I was able to get the unit dialed in the way I like it.
I say goodbye to Tulum and begin to make the journey to Playa Del Carmen for a little bit of fun and off-gassing, my thoughts are still trapped in the Dream Gate Cenote and how well the Katana performed, my brain doing the math on how I could spend the rest of my life diving these incredible Cenotes.
I find that as we make our way to the upper echelons of the diving world, we tend to be less open-minded about changes to our equipment. You begin to truly use your gear as life-support equipment and the thought of changing something that took you to the bottom of the ocean, or the furthest reaches of a cave sounds akin to having your teeth pulled out with a string tied to a donkey. We develop an attitude of “If I’m still alive then my gear must be perfect and if you don’t dive exactly like I do you will DIE!”
Change comes slow and we get closed off to the wonderful products that manufactures put out to make our dives safer, more comfortable, and easier. I too was like this, I wanted to completely reconfigure this unit the way I was taught to dive Side mount, spend days moving this dump, and changing this configuration, getting rid of this D-Ring, and replacing it with that D-Ring, add a bungee here, remove a bungee there, but Nick asked us to dive this unit “out of the box” and I am pleased to report that other than the change I made to the primary bungee that the unit dived incredible just the way it is. I will make a few more modifications over time but these mods will be more centered around how to better attach different pieces of hardware to the unit and not anything to do with the fundamentals of how the unit dives. To me, that is the perfect set of equipment. One that works out of the box but is easily customizable and able to be personalized to my particular taste and style of diving. If the SMS Katana is the way forward for Nick Hollis and company, I can’t wait to see what comes next!


