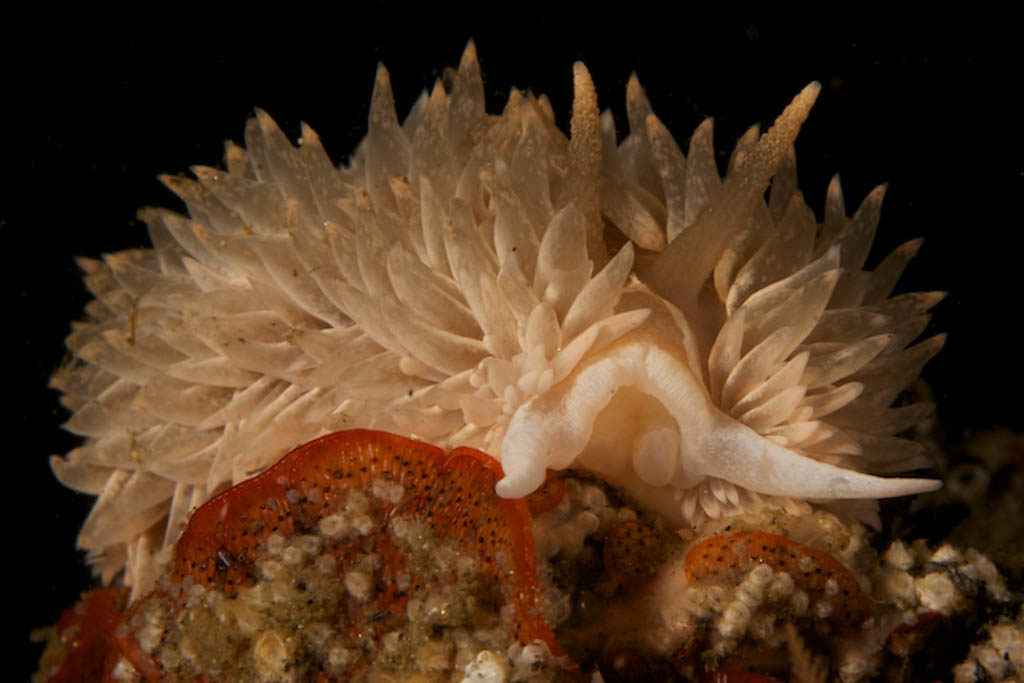
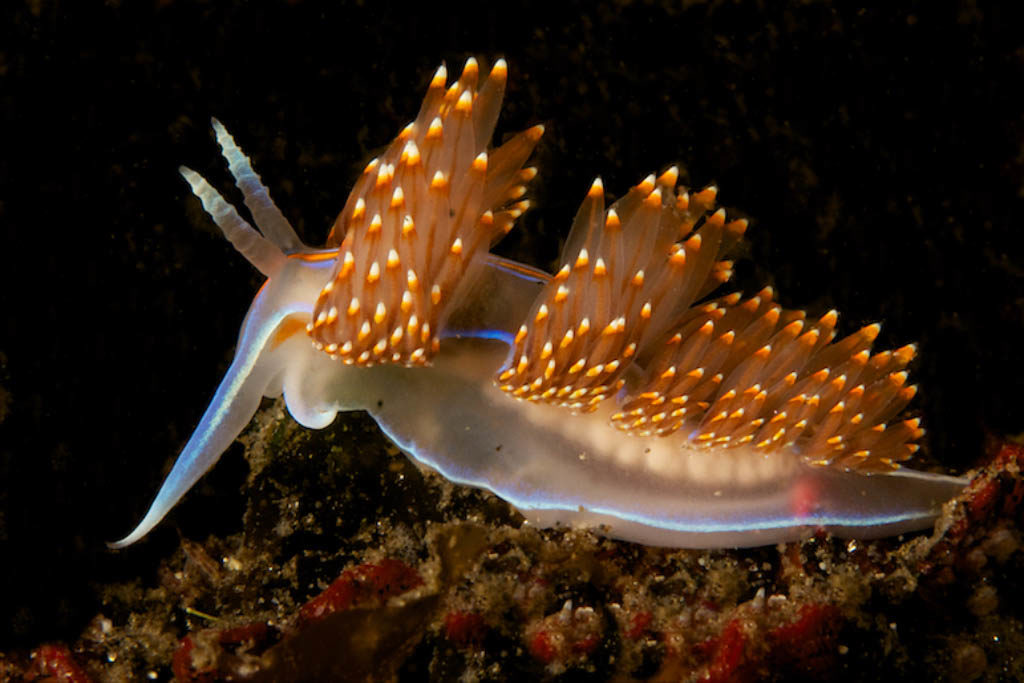
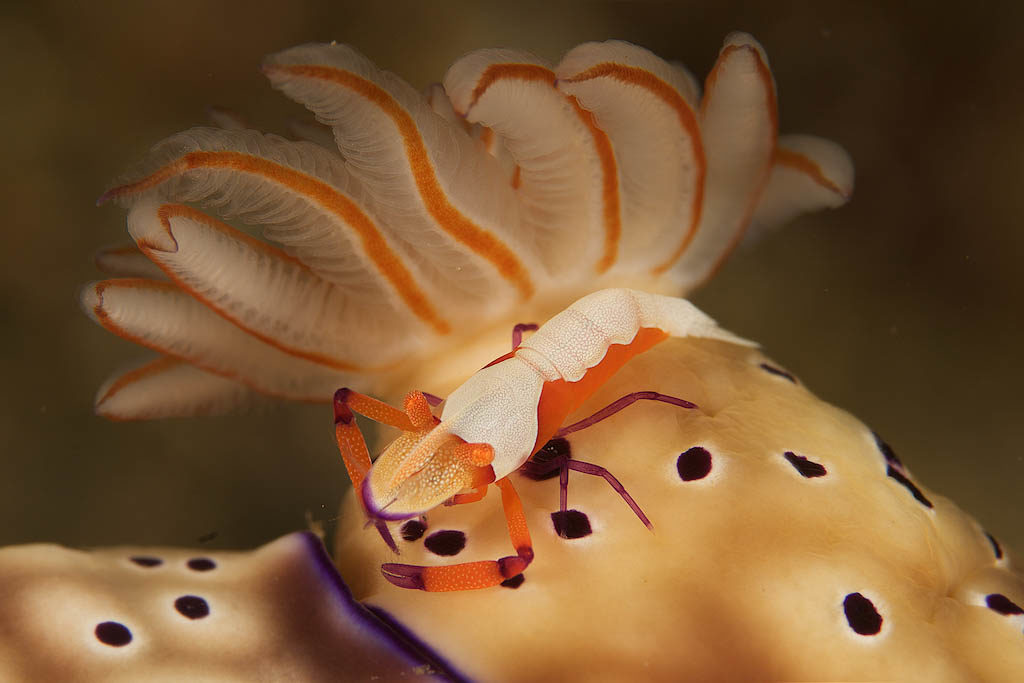
Nudibranchs are perhaps one of the most photographed animals in most dive destinations around the world. They come in a wide variety of unique shapes, often gaudy colors and unusual body textures. Add in the very important feature that they are usually not very skittish and don’t move too quickly and you have what should be makings of an excellent subject for photographers of all skill levels. Even though they tend to be sluggish, this does not mean that they are easy subjects to photograph, and obtaining high quality, dramatic images can be surprisingly elusive. Every underwater photographer whose goal is to achieve unique, striking images knows that it is a challenge to create “knock your socks off” nudibranch images.
What are nudibranchs?
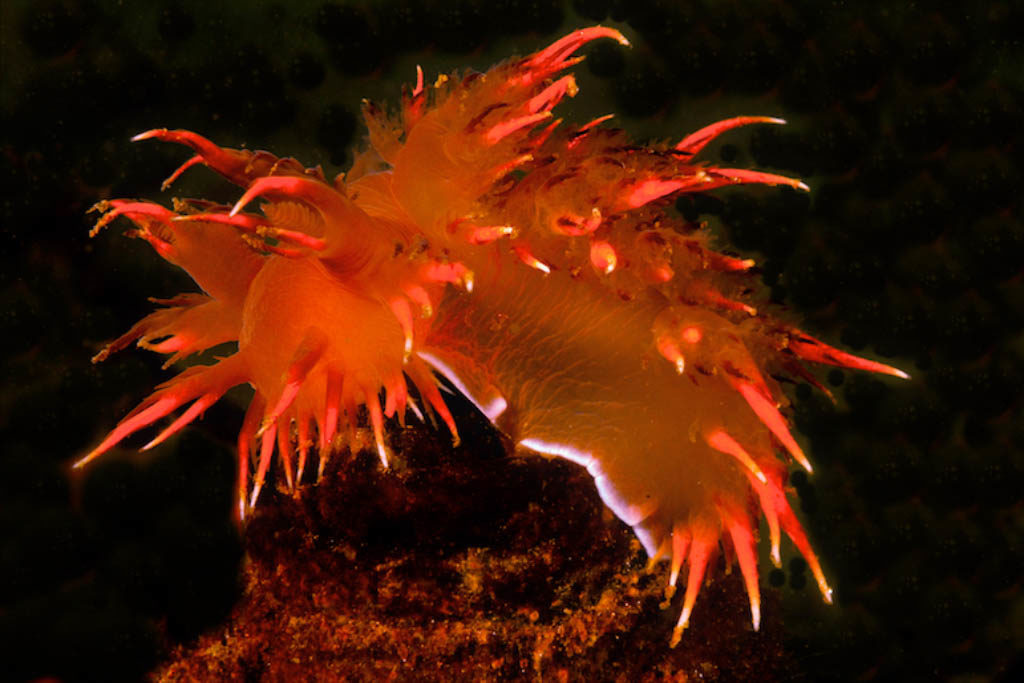
Nudi-branch is pronounced ‘nude-uh-brank’, meaning “Naked Gills.” So what is a nudibranch? From the dictionary, you will get a general definition that a nudibranch is “any soft-bodied, marine gastropod of the order Nudibranchia, which sheds its shell after the larval stage. They are often beautifully colored, with elongated bodies that bear external gills and other appendages.” Most nudibranchs have prominent external gills. They are sometimes casually referred to as sea slugs, but many sea slugs belong to several taxonomic groups that are not closely related to nudibranchs. Most nudibranchs fall into one of two groups, Aeolids and Dorids.
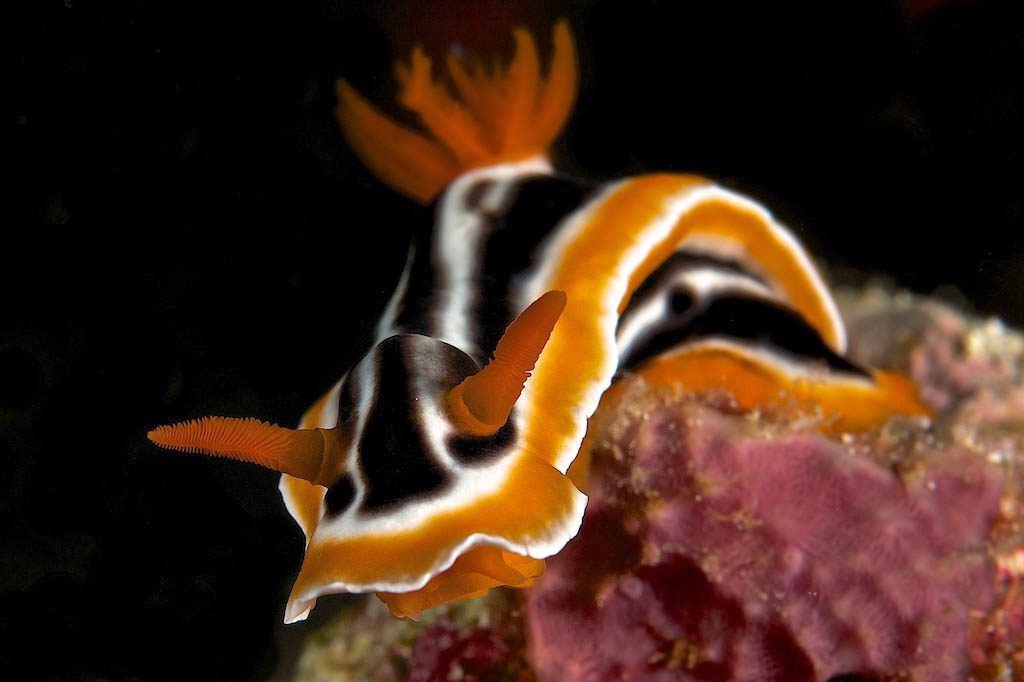
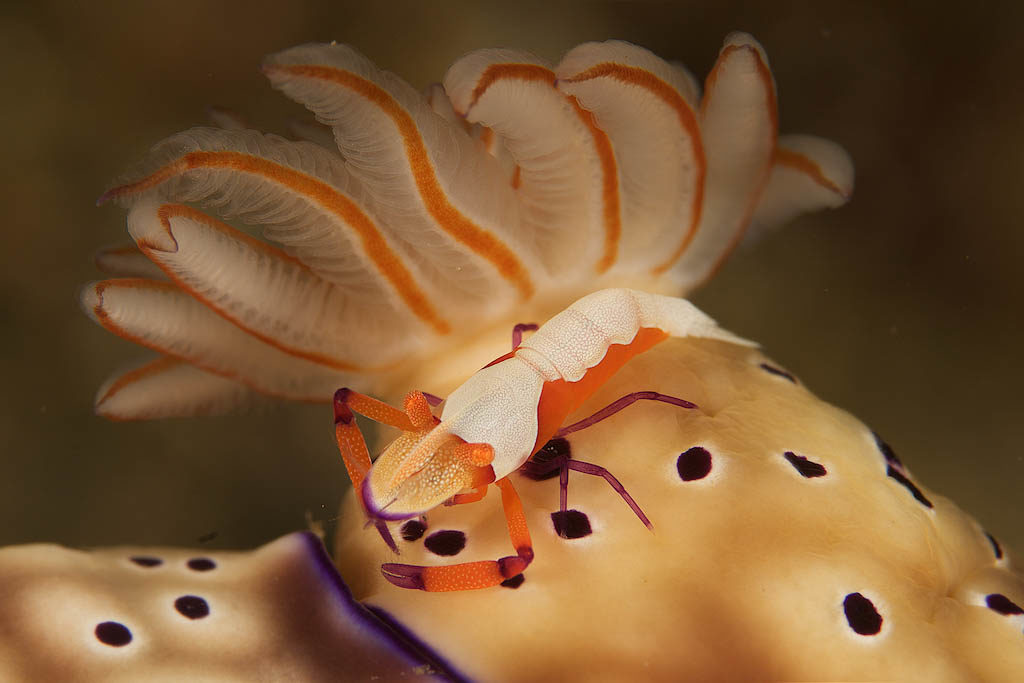
Dorid nudibranchs have a plume, which forms a disk shaped cluster on the posterior of the body. This plume carries out the vital process of the gas exchange or breathing. It is not uncommon to see a shrimp in the gill area feeding on the organic bio matter and keeping the slug healthy and clean. This plume can retract quickly when the nudibranch is startled. By contrast, the Aeolid nudibranchs have brightly colored rows of protruding hairy appendages or tufts on their backs or sides called cerata. instead of the rosette shaped plume. The cerata can contain nematocysts or stinging cells that are absorbed while feeding on hydroids. The cerata also function similarly as the gills on Dorid nudibranchs.
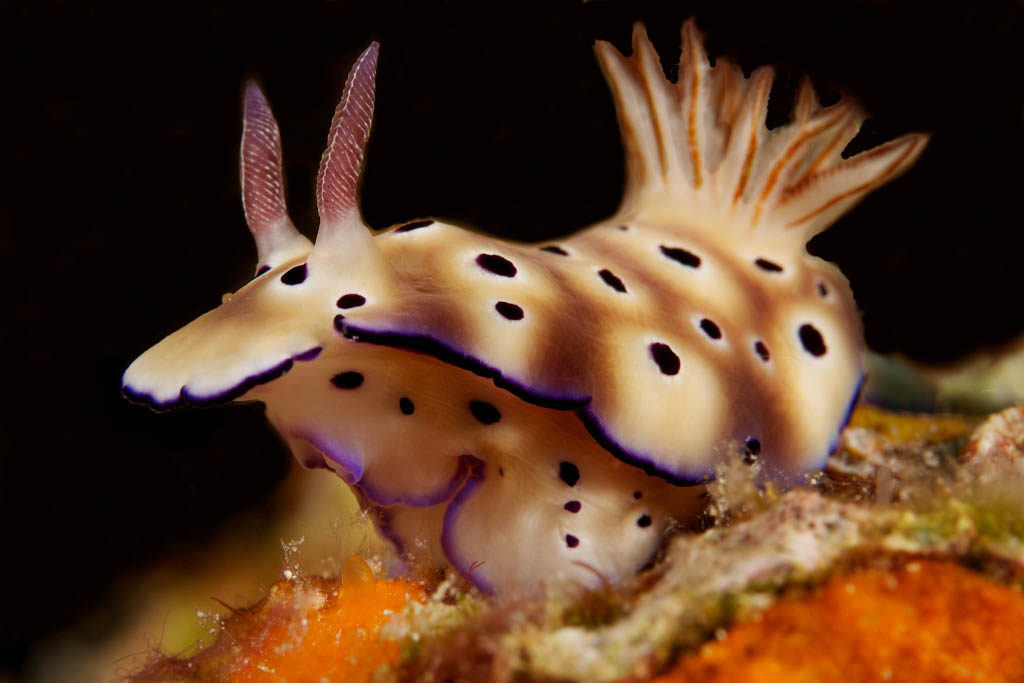
These nudibranchs have Rhinophores or sensory organs located toward the front end of the body that look like antennae, which are used to detect odors. Nudibranchs are benthic animals, found crawling over the substrate or sea bottom.
Tips for photographing Nudibranchs
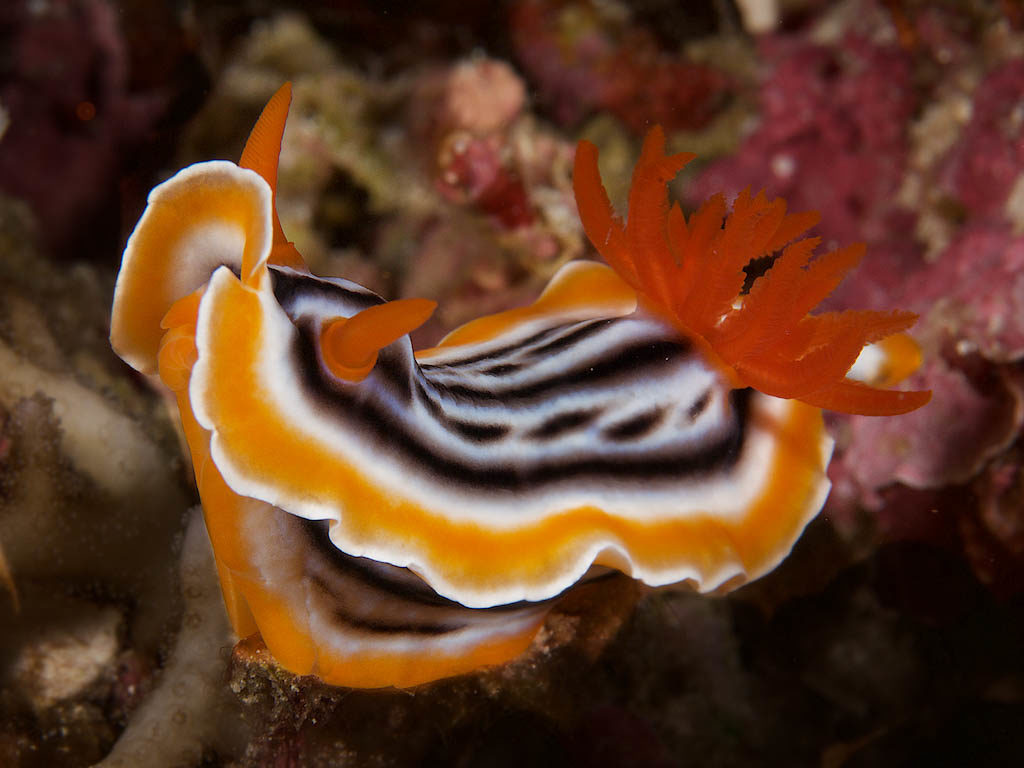
There are a few words of wisdom that you should keep in mind when you find a nudibranch that you want to photograph. The old adage “get down, get close and shoot up” that came out of the early days of film shooting back in the 1970’s still applies more than ever. Take your time when you find a subject that you want to capture. Filling the frame to make your image more dramatic is still important, but probably was more important in the old days when shooting slides and perhaps less so today when you can easily crop your images.
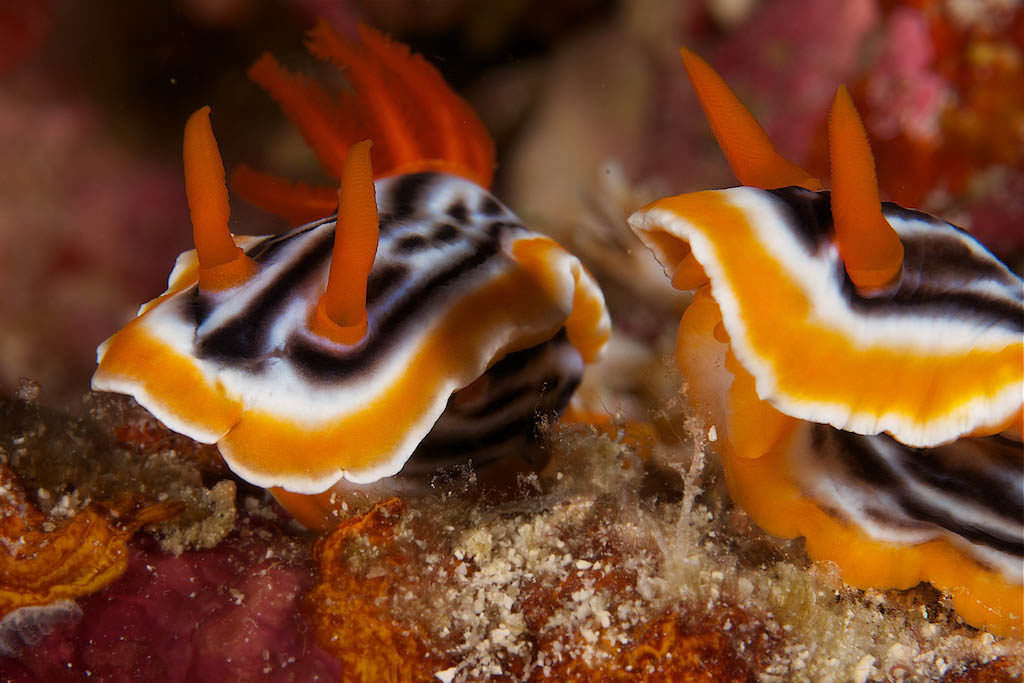
Take your time picking your subject. try different angles and change perspectives. Try to do more than take snap shots. Look for unusual interactions or behavior, such as eating, mating or laying eggs. Concentrate on the positioning of the animal so that it is facing directly toward or angling toward the lens, and pay attention to the creation of interesting or contrasting backgrounds. Keep in mind that aesthetically you want to get the attention of the viewer to enter the frame and stay within the frame. Note that subconsciously the viewer’s eye will enter a picture from the bottom left hand corner of the picture and move up to the right. If the primary subject is oriented so that it is coming into the frame from right to left, the viewer’s eye will turn back toward the left following the direction of the subject, staying inside the frame. If there are multiple subjects in the frame, the eye will often bounce back and forth between the subjects, extending the viewer’s attention inside the frame.
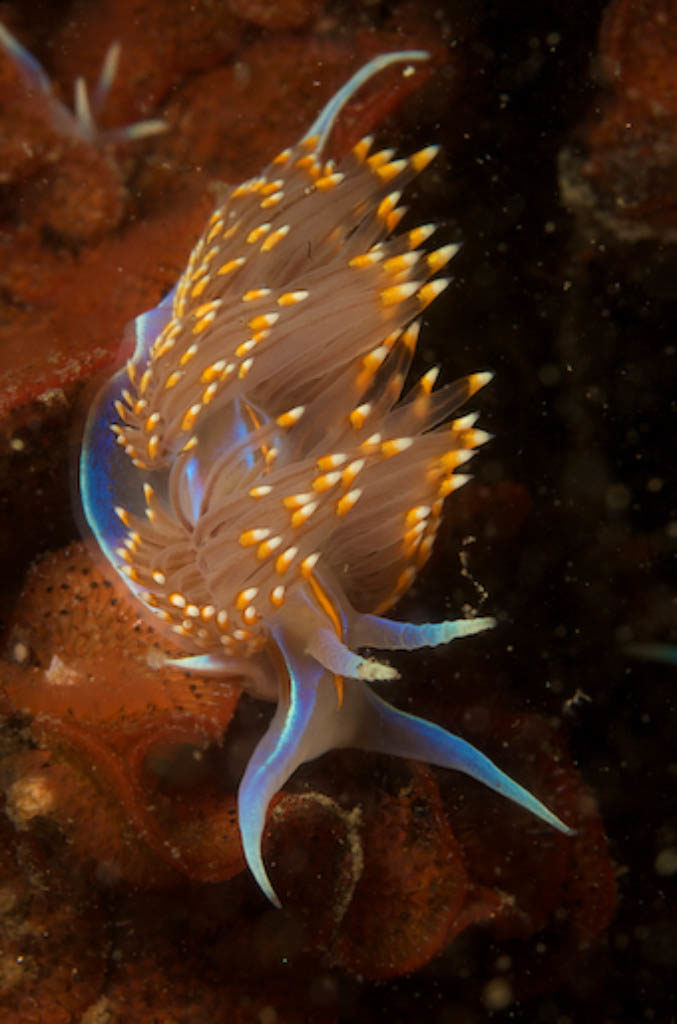
Give some thought to the depth of field or area that is in focus. Make sure that the leading lines (front edges of the subject) and rhinophores of the subject nudibranch are in focus. It is important to understand how your aperture controls your depth of field. This is especially critical if you are using a telephoto lens (100mm or greater) or a diopter, which will give you a very limited depth of field. If you are using a DSLR, the depth of field will increase as you increase the F/Stop number (i.e. decrease the aperture or size of the opening in the lens). Of course, decreasing the aperture means that you are allowing less light through lens. To simplify shooting, I usually control the exposure manually. The easiest way to do this is to preset the output from the strobe, the ISO and the Shutter speed, so that you can change the exposure of the picture by changing the just the aperture setting. Put your camera on M or manual. Using manual exposure settings may sound difficult at first, but it is actually pretty straight forward.
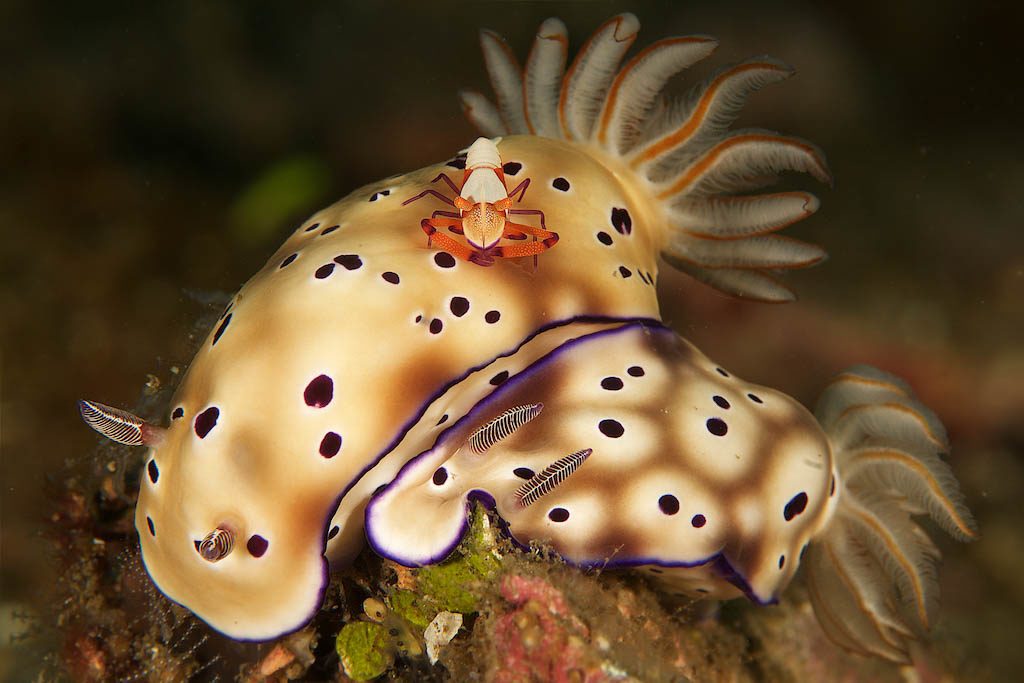
Sample settings for Exposure Control:
- Strobe output (Sea & Sea YS-D2) at 50% or (Sea & Sea 250s) at 25%. However, you should be aware that moving your strobes closer to the subject will increase the amount of light on your subject.
- ISO – lowest setting (usually 100 or 200)
- Shutter Speed – Use a fast shutter speed (usually the fastest speed that will sync with the Flash (usually 1/200th to 1/250th of sec)
- Aperture – I usually use an aperture of F/22 as a Starting Point. To decrease the amount of light in the picture increase the aperture number (i.e. to F/29) and to increase the amount of light in the picture decrease the aperture number (i.e. to F/16)
A few final thoughts
One problem you will encounter is that nudibranchs are benthic creatures, usually found on or near the substrate. Nudibranchs are pretty flat and close to the bottom, which makes it very difficult to get down or below the subjects to shoot up. If you happen to be in an area where there are multiple subjects, chose the subject you work with carefully after giving some thought to its position. If you find one that is sitting atop a ledge or small coral head, it will easier to work with than one that is in a valley or depression.
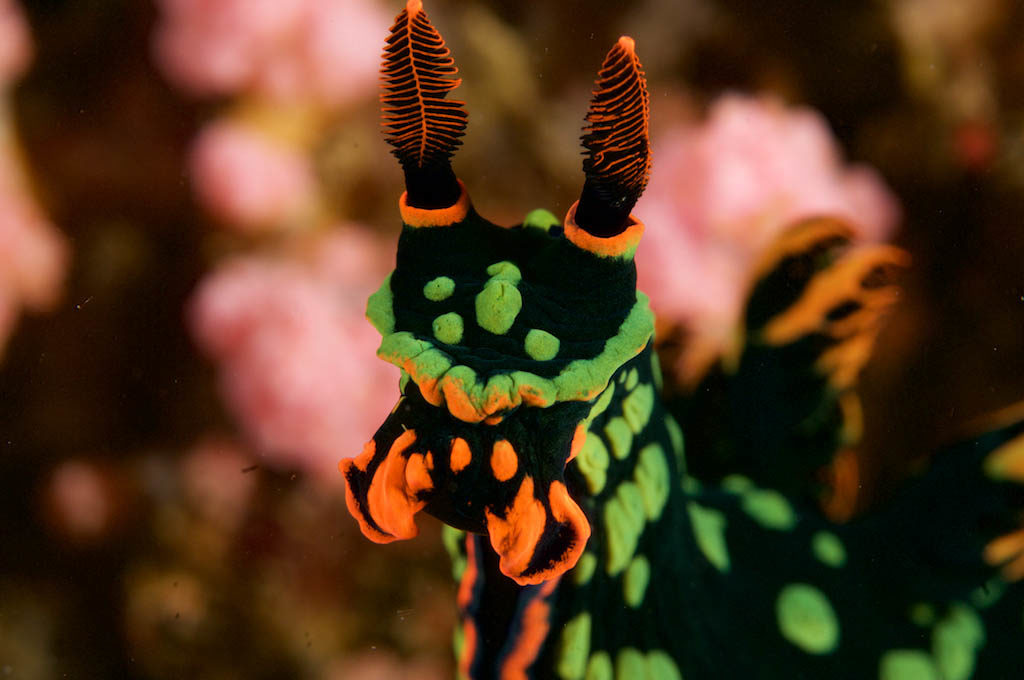
One of the benefits of digital photography and slow subjects is that you can spend as much time as you want with a particular subject. Take a sample shot and check the exposure. You can do this by just looking at the image in the LCD screen or you can check the histogram. I like to take multiple images using different exposures and different angles. If your camera allows, I also like to use the “Spot Focus” setting to make sure that the rhinophores and lead lines of your subject are in focus.
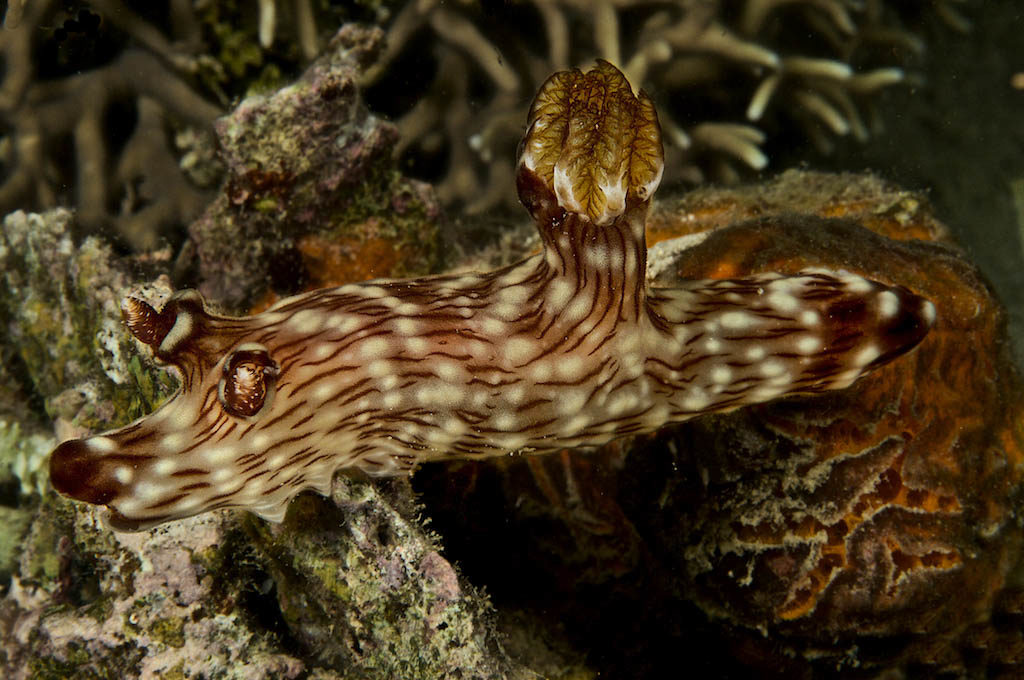
Think a bit about the area surrounding the subject. You want to decrease the amount of clutter or distracting objects. This is especially true of bright objects because they will distract the viewer’s attention from the primary subject.
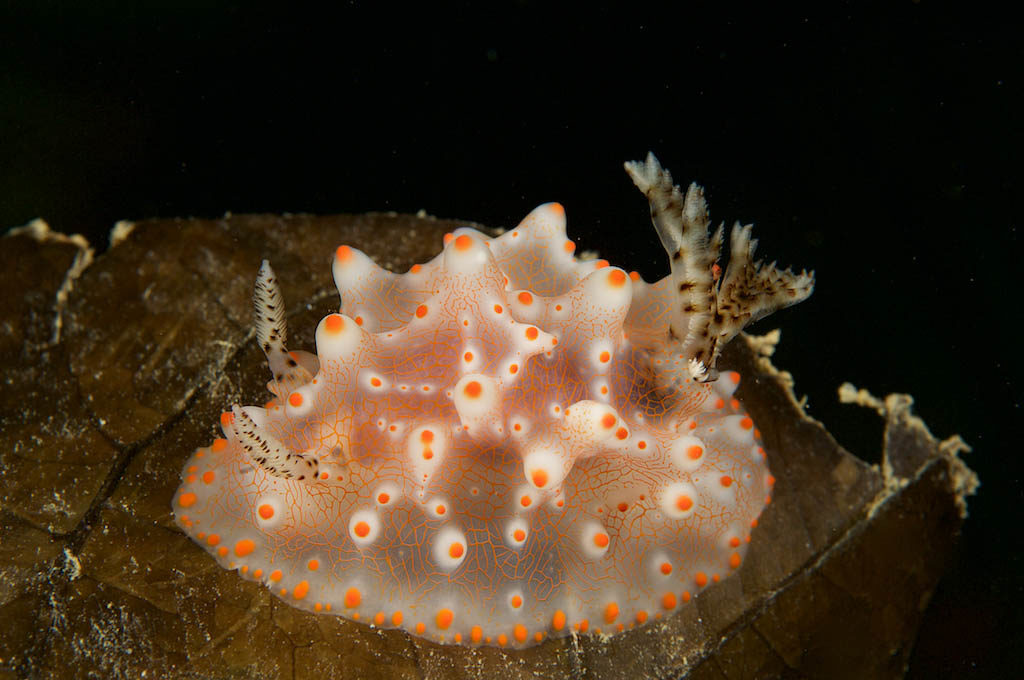
Find out as much as you can about your subject(s). If you are looking for a particular type of nudibranch, research what it eats or the type of environment where it is likely to be found. A good example is the rainbow nudibranch, Dendronotus iris, which can be found in subtropical California waters. They feed on tube anemones, so you should look for them on flat sandy bottoms where you know there are plenty of tube anemones. Check out Dave Behrens Book of Nudibranchs for a wealth of information or talk to experienced local guides or divers. Finally, patience is a key to good images. Experiment with settings, strobe angles and perspectives, but do not risk injuring a subject or cause it to flee its habitat or food source just to get the shot you want.
